Thursday, August 11, 2011

Nectarine Shortcake with a homemade Vanilla whipped cream


how good does that look?

Yesterday, I was watching food network. Typical. and Anne Burrell happened to be on and she was making this: an Apricot Nectarine Shortcake with whipped cream. After seeing how delicious it looked on camera..I instantly decided to give it a try. It was surprisingly easy to make and very very delicious! The epitome of summer is what it tastes like. I added a few things here and there just to add my personal touch but otherwise I keep the recipe pretty much the same.


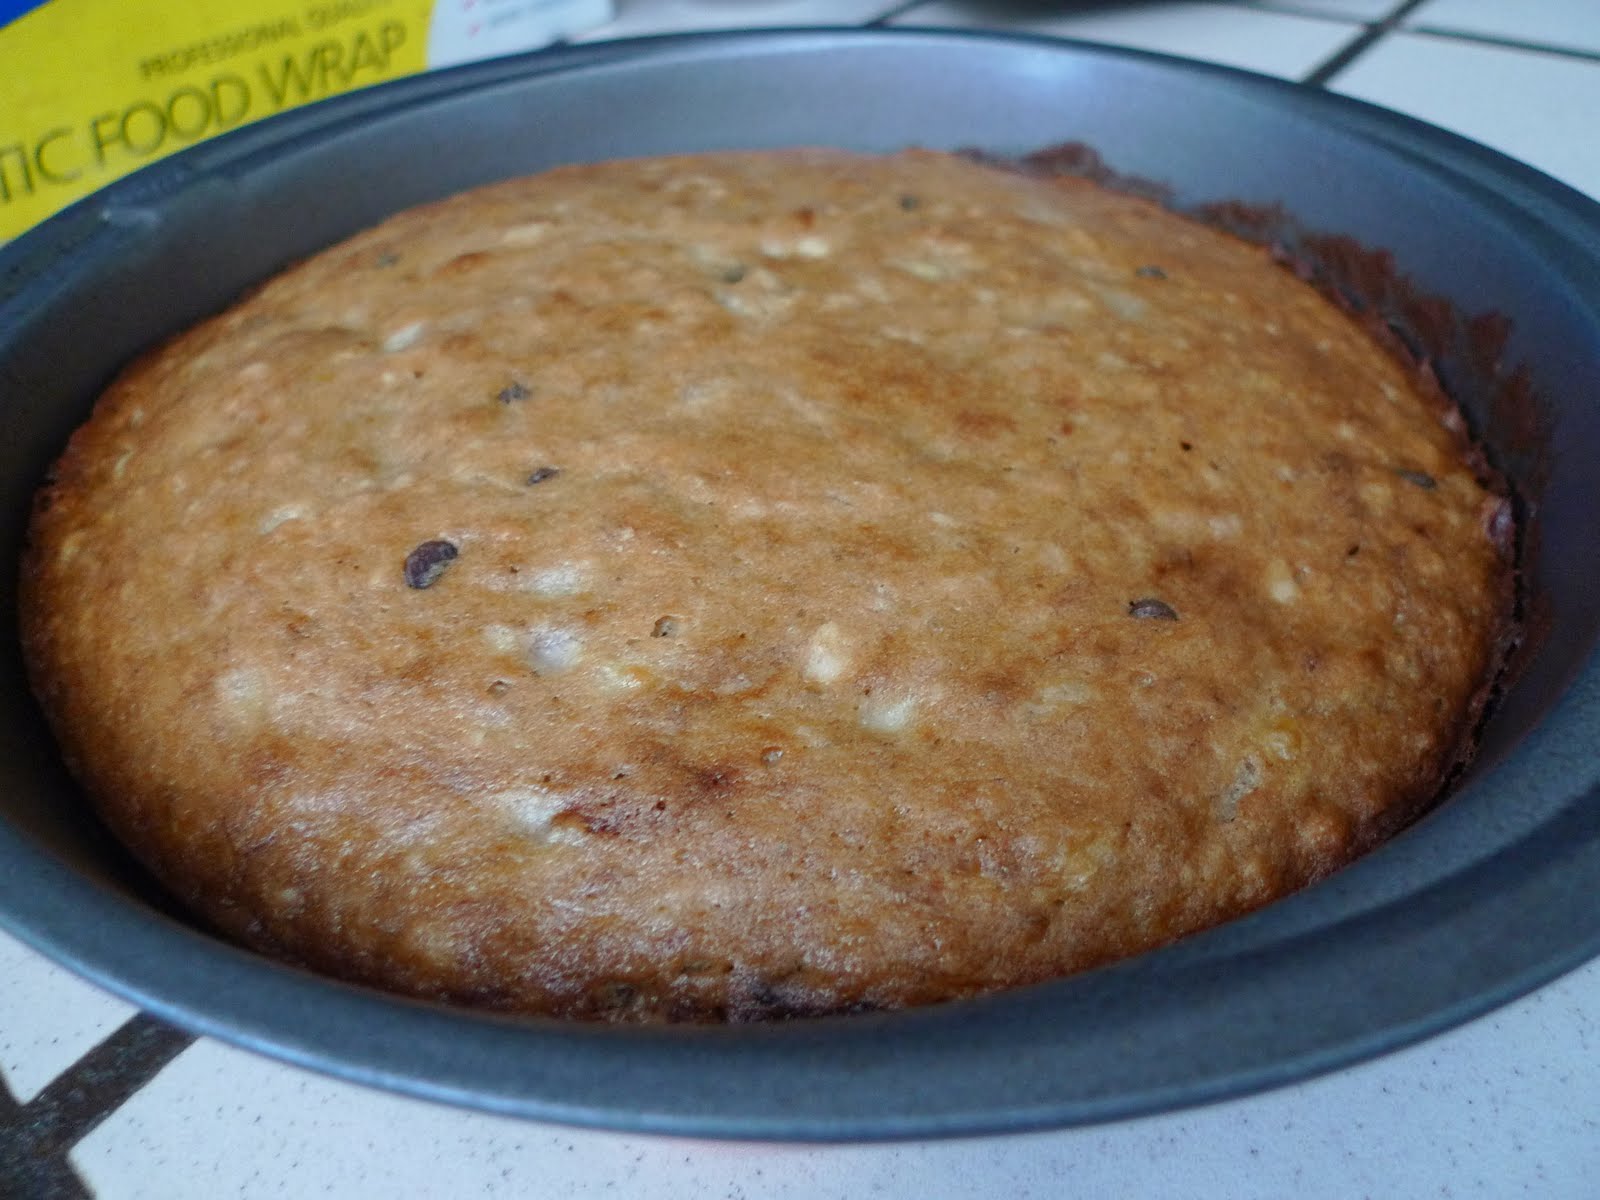
The shortcake came out beautifully and although I ran out of flour, I threw in some self-rising flour and it turned out fine. The recipe says to sprinkle a little of granulated sugar on top, but since I love love brown sugar and dusted the tops with brown sugar and touch of cinnamon instead and it had the effect I wanted indeed.


Now, I didn't have apricots so I made do with some peaches and nectarines in the fridge and used both yellow and white to add color. Here too, I add brown sugar instead of regular white table sugar and a couple shakes of cinnamon. Mmmm..just the way I like it.


And lastly, the whipped cream. Pretty generic. Simple whipped cream with dashes of cinnamon and sugar.

The result? a pure bite of heaven...enjoy!


Apricot Nectarine Shortcake with Vanilla Whipped Cream

Recipe courtesy Anne Burrell

Prep Time:
20 min
Inactive Prep Time:
5 min
Cook Time:
20 min
Level:
Easy
Serves:
8 servings

Ingredients

Shortcakes:

  • 2 cups all-purpose flour
  • 2 tablespoons sugar, plus 2 tablespoons for sprinkling
  • 1 tablespoon baking powder
  • Pinch salt
  • 1 stick unsalted butter, chilled, cut into pea-size pieces
  • 1/2 cup heavy cream

Fruit:

  • 1/4 cup unsalted butter
  • 5 apricots, pitted, cut into sixths
  • 5 nectarines, pitted, cut into sixths
  • 2 tablespoons sugar

Whipped cream:

  • 1 1/2 cups heavy cream, chilled
  • 1 teaspoon vanilla extract
  • 1 tablespoon sugar

Directions

Shortcakes:
Preheat the oven to 425 degrees F.
In the food processor combine the flour, 2 tablespoons of sugar, baking powder and salt. Add the butter andpulse until the mixture looks like grated Parmesan cheese. Add the cream and pulse until the mixture looks very crumbly but sticks together.
Remove the blade from the processor and form craggy looking dough balls about the size of a small tennis ball. Put the dough balls on a baking sheet lined with a silpat or parchment paper. Sprinkle each ball with a little sugar. Bake in the preheated oven for about 11 to 12 minutes. Remove from the oven and let cool.
Fruit:
Add the butter to a saute pan and melt it over medium heat. Add the fruit and saute for 2 to 3 minutes. Sprinkle in the sugar and saute for another 2 to 3 minutes.
In a mixing bowl combine the cream and vanilla. Using a whisk or hand beater, beat the cream until it starts to thicken. Sprinkle in the sugar and beat until the cream is very light and fluffy and it holds soft peaks.
To assemble:
Cut the shortcakes in half. Spoon a generous amount of the warm fruit filling on the bottoms of the shortcakes. Replace the top and garnish with the vanilla whipped cream.


Thursday, July 21, 2011

Baumkuchen

Ok, so recipe is from a long time ago, but Berlin has been on my mind a lot lately...
I baked this traditional German Christmas cake with a friend in Berlin. The name literally means Tree Cake because of the thin layers that look like tree rings when you cut into it. It’s kind of a bitch to make because you have to keep a careful eye on the cake the whole time it is baking.

Traditionally, it is roasted on a spit and rotated so that it creates a log shape. Layer by layer of the batter is poured on to create the ring like interior! I love the rustic feel of this cake, it really does look like a tree, especially with the chocolate bark on the outside.

Unfortunately, I did not have a spit so we just baked it into a normal cake round but it turned out just as yummy!

Here's how you do:
Ingredients:
  • 7/8 cup unsalted butter, softened
  • 1 cup sifted confectioners' sugar
  • 7/8 cup cornstarch
  • 5 1/2 ounces almond paste
  • 1 1/2 teaspoons vanilla extract
  • 1 pinch salt
  • 2 egg yolks
  • 6 egg whites
  • 3/4 cup white sugar
  • 3/4 cup all-purpose flour
  • 9 (1 ounce) squares semisweet chocolate
  • 2 1/2 teaspoons vegetable oil
  • optional: Fruit Jam

Directions


  1.  Place a sheet of parchment paper in the bottom of a 9 inch spring form pan. Butter the parchment, and flour the whole pan. Position the rack of the oven to the lowest level, and preheat the broiler.
  2. In a large bowl, cream the butter or margarine until light and fluffy. Add in the almond paste in small chunks; beat until smooth. Add the confectioners' sugar, cornstarch, vanilla, and salt. Beat in the yolks one at a time, beating well after each addition. Beat until smooth.
  3. In another bowl, beat the egg whites to soft peaks. Add in the sugar slowly while continuing to beat the meringue to stiff, glossy peaks. Fold the meringue into the yolk mixture. Sift the flour over this, and fold in.
  4. Spoon a small amount of batter onto the parchment in the baking pan. Spread the batter to the edges. You want to cover the paper completely, but have a thin layer. Place under the broiler, and cook until light brown; about 1 to 2 minutes. Brush another layer of the batter over the cake, and place under the broiler. Continue on in this way until all of the batter is used. If desired, spread a layer of Jam after every 3 or 4 layers. Cool completely. Turn the cake out of the pan, and trim the edges clean.
  5. In a double boiler, combine the chocolate and the oil. Heat until the chocolate is smooth. Allow the cake to set. Cut the cake into 6 equal pieces.  With a pastry brush, completely covered a piece with the glaze.  Store in the refrigerator, but serve at room temperature. 
Here are all the beautiful layers of the cake when we cut into it!
It turned out really great, and the time passed really fast because we had sparkling conversation while we were baking ;)

Adding the glaze for each piece.


<3 Jo

Monday, July 11, 2011

It tastes as good as it looks:

Cinnamon Churro Cupcakes with Mexican Chocolate filling and Cinnamon Chocolate Whipped Cream Frosting

Wow. That was  a mouthful. but it's a mouthful of delicious-ness, believe me. When you first bite into it, its like eating a churro cake and you pick up the cinnamon, but also there is the chocolate filling which is divine. Try this recipe if you get a chance. I found it on one of my inspirational food blogs: love and olive oil


Cinnamon Chocolate Churro Cupcakes

Makes 12 cupcakes.

INGREDIENTS:

Cinnamon Cupcakes:
1 1/4 cup all-purpose flour
2 tablespoons cornstarch
3/4 teaspoon baking powder
1/2 teaspoon baking soda
1/2 teaspoon salt
1 teaspoon cinnamon
1 cup almond milk
1 teaspoon cider vinegar
3/4 cup granulated sugar
1/3 cup oil
1 teaspoon vanilla extract
Mexican Chocolate Pudding Filling:
2 tablespoons cornstarch
1/4 cup sugar
1/8 teaspoon salt
1/2 teaspoon cinnamon
1 1/2 cups whole milk
3 ounces good quality semisweet or dark chocolate, coarsely chopped
1/2 teaspoon pure vanilla extract
Chocolate Whipped Cream Frosting:
1/2 cup powdered sugar
1/4 cup unsweetened cocoa powder
2 tablespoons whole milk
1 teaspoon meringue powder
Pinch of cream of tartar
Pinch of cinnamon
1 cup chilled whipping cream

DIRECTIONS:

Preheat oven to 350 degrees F.
In a large bowl, sift together flour, cornstarch, baking powder, baking soda, cinnamon, and salt.
Combine almond milk and vinegar and stir to combine. Whisk in sugar, oil, and vanilla. Make a well in the center of the dry ingredients and pour in the wet ingredients. Mix until relatively smooth. Fill cupcake liners with a scant 3 Tablespoons of batter (cups should be just under 2/3 of the way full). Bake for 20-22 minutes or until set, and toothpick inserted in the center comes out clean. Transfer to cooling rack and allow to cool completely.
Cupcake Batter (before picture)


                     Cupcake batter (after baked picture) 

To prepare filling, combine the cornstarch, sugar, salt, and cinnamon in the top of a double boiler or a heatproof bowl set over a larger pot filled with 1 inch of water. Slowly whisk in the milk, scraping the bottom and sides with a heatproof spatula to incorporate the dry ingredients. Place over gently simmering water and stir occasionally, scraping the bottom and sides. Use a whisk as necessary should lumps begin to form. After 15 to 20 minutes, when the mixture begins to thicken and coats the back of the spoon, add the chocolate. Continue stirring for about 2 to 4 minutes, or until the pudding is smooth and thickened. Remove from the heat and stir in the vanilla. Transfer to a small bowl and cover, gently pressing a layer of plastic wrap against the surface before refrigerating (this will prevent a skin from forming). Refrigerate for at least 30 minutes and up to 3 days (ahem, good luck with that).
This is the Chocolate Pudding Center. (This is what the end result should look like)
It's actually pretty delicious too, so if you have leftovers like I did, sneak some couple bites in. :)

With a small pairing knife cut out cones from the tops of cupcakes approximately 1 inch in diameter. Set aside but do not discard. Spoon approximately 1 tablespoon of filling into each cupcake (you'll have extra pudding, so grab a spoon). Replace top and press into place (it helps to remove a bit off the base of the cone piece to help it sit more level on the filling - tasties for you). Pipe on whipped cream frosting, taking care to cover up all seams. If desired, sprinkle with a bit of cinnamon sugar prior to serving.
Just punch holes in the center of the cupcake so there's a well for you to put your pudding. And what I figured is..that you just want to wait for the pudding to cool to just chilled so its still kind of liquid-y, that way its easier to scoop and pour into the cupcake.


For frosting, whisk powdered sugar, cocoa powder, milk, meringue powder, cream of tartar, and cinnamon in large bowl until smooth. Cover and refrigerate until well chilled and ready to use, 30 minutes to 1 hour. Using electric mixer or a stand mixer with a whisk attachment, gradually beat chilled cream into chocolate mixture. Continue beating until stiff peaks form.

                           The frosting is pretty straight forward. I didn't have the meringue powder so I basically just substituted meringue (which is just beaten egg white) and It worked fine, so you have that option. 

And..heres the lovely end result! 
looks delicious, no?


Feedback and Questions are greatly appreciated! 
-sam

Monday, June 20, 2011

It's summer!

...and that means fresh, light and refreshing food for the hot sticky days to come. Here some easy summer dishes that I've made over the past few weeks. I just wanted to share with you all. Let me know if you're interested in any recipes!

Freshly Baked Banana Chocolate Chip Bread

Oxtail Stew

One of my most popular deserts: Tiramisu (and it was super easy to make, but a little on the pricey side!)

More food to come! 


Saturday, May 7, 2011

lemon yogurt finally back home cake

after 9 months, I'm finally back in the US of A! Haven't been too good with posting, but I've picked up a fair amount of German recipes, so I will share them with you guys eventually...

anyways, Priscilla and I decided to go with this Lemon Yogurt anything cake because we had so many fresh lemons from our backyard. and we had all the ingredients on hand. ha. The yogurt really made the cake moist and it had a perfect balance between sweet and sour. You can always adjust the lemon glaze to be sweeter as well. This was the perfect cake to have along side tea with my girl friends while updating them with my European adventures and catching up on the local gossip :)

 Already sliced into it, couldn't resist!


Shout out to Care!

Sunday, March 20, 2011

Greetings from London!

I had to fly out to London for a week long excursion for my program so I was trying to clean out my fridge. Sometimes it’s rather nice to just have a simple meal. I whipped up roasted potatoes, carrots and white wine braised onion strings from what was left in my pantry. 

The roasted veggies were just coated with olive oil then tossed with salt & peppers and your run-of-the-mill Italian herb seasoning. I wanted to add flavor to the onions so I softened them down with a bit of butter then braised them with about a cup and a half of Reisling. Really, wine makes everything better ;) A sprinkle of parsley finished off the dish. Lately, I've been really into this herb. It’s just so fresh and clean tasting.  


Can't wait to try some legit fish & chips, meat pies and pudding!

<3 jo

Friday, February 11, 2011

Zucchini Lasagna

I always thought that making Lasagna was a long, tedious process, but I made this Zucchini Lasagna last week and it was quite easy. I've been trying to eat more whole wheat products and I went to the Bio store to pick up some pasta and when I saw the Lasagna sheets, I just knew I had to get them!


Ingredients: Whole wheat (ready to bake) Lasagna sheets, Gouda Cheese (100 g), Mozzarella (100 g), one medium Zucchini, and  Bolognese sauce.  I put salt and pepper in the photo because 99% of  recipes calls for it but I actually didn't end up using it.


Prepare your ingredients for assembly. Wash and slice the Zucchini into 1/4 inch slices. Slice the Mozzarella as thinly as you can. Shred the Gouda (Freshly grated cheese please!) Now all you have to do is layer. simple stuff here.


 Spread a thin layer of the meat sauce on the bottom of a 11 x 7 in oven proof casserole dish

. I used the pionner woman's recipe, the homemade sauce really makes a difference and if you have time, definitly try to make a batch. I made a huge pot, it freezes great too, so I did this ahead of time and just pulled a container out of the fridge when I was ready to assemble. 


Second layer: Zucchini! just line them up, if some of them over lap a little, don't worry, they are so thinly sliced. I added Zucchini to the recipe to try to add more veggies to the dish and make it healthier. 


Third layer: Cheese! I put on the Mozzarella first, then sprinkled on the Gouda onto the spaces in between.


Fourth layer: Pastas! If the sheets don't fit properly, just break the into the appropriate size. That's what I did with the sheet on the right.


Repeat until you reach the top. Stopping at the Cheese layer. I managed to get in 3 layers. Don't worry about filling it all the way to the brim, the casserole will shrink down during the cooking process.


Bake at 200°c (400°f)  for 35 minutes or until the top is golden and bubbly! 


Slice into squares and enjoy! It held together very well, I didn't even need a spatula.

All in all, I was really happy with how this recipe turned out, especially since it was my first time making Lasagna. I really like the Zucchini in the recipe, it went very well with the meat sauce. If you don't like it, of course you can leave it out or substitute with something else. I think eggplant slices would be delicious as well, sort of like a version of eggplant Parmesan. 

I have to say, however, this Lasagna was on the cheesy side. I used Gouda because that's what I had in the fridge. I love Gouda but it made the dish heavier than I would have like so next time I will probably use a mixture of ricotta and mozzarella, which is more traditional, and Parmesan on the top layer.

- jo

Sunday, February 6, 2011

Who Doesn't Love Strawberry Napoleon's?

What exactly are Strawberry Napoleon's? Well they're actually quite simple. Just yummy custard and strawberries sandwiched between flaky delicious puff pastry. Check out the the picture and i'll explain the rest.
So basically, the croissant type looking pastry is simply frozen puff pastry that I bought from the supermarket. I found the recipe on the box and it sounded really easy to make so I decided why not? 
To make the puff pastry:
You start out be preheating your oven to 400 degrees and greasing a baking sheet. Oh, and if your puff pastry is frozen then you have to wait about 30-40 minutes for it to defrost so its easier to unfold and work with. After unfrozen, the pastry is already divided in the three and you unfold and cut along the lines and lay them out on the baking sheet. After preheating the oven, lay the pastry sheets out and just leave them to bake in the oven for around 15 minutes till golden brown. Meanwhile lets get started on our custard filling. 
To make the custard: 
You can make your own vanilla pudding, but I decided to be lazy and just buy the instant vanilla pudding packs that take 5 minutes to make from the market. Just pour the powder from the pudding into a mixing bowl and whisk in 1 cup of milk. Its going to get really thick so just be aware. Then in a separate bowl whip a   cup of heavy whipping cream until it is whipped cream. After making the whipped cream, fold it in with the pudding mixture and make sure its well incorporated.  Refrigerate until needed. 
To bring it all together: 
After baking the puff pastry take it out and leave it to cool. You may use frozen or fresh strawberries to cut up into small slices. I used almost a whole bag of frozen strawberries so you'll need a couple handfuls of strawberries. You also need to create the glaze for the top of the puff pastry. That is simply half a cup of powdered sugar and 1-2 tbsp of milk and just mix them together. Once the puff pastry has cooled, I cut mine in half hamburger style then cut again through the puff pastry like you're cutting a hot dog bun in half...i'm not really sure if thats clear or not,  but it should make sense once  you do it. You should have 4 pieces total from 1 of the 3 original straight out of the oven pieces. Then you want to paint the top of the cut pastries with the powdered sugar mixture. 
To stack:
Start with the bottom piece and spread some of the custard until it coats the pastry evenly. Then go ahead and place sliced strawberries on the custard in an even layer. Top with the top of the pastry. Repeat this process with the other pieces. Drizzle with melted chocolate. :) I...kind of failed with the melting process of my chocolate so I just ended up using chocolate syrup and drizzling that, and it worked fine. 

Enjoy! it is soo yummy! oh and keep refrigerated!

Sunday, January 23, 2011

Korean Mochi Bread with Black Seasame

So today I decided to make these delicious little Korean Mochi buns. They have a beautiful crust on the outside and they're soft and chewy on the inside. Mmmm so good!  Last time I made these buns with my mom, we burned them unfortunately and they didn't turn out as well as I thought they would. But I made them today and they turned out beautifully, so I'm glad. They only thing I would change is probably seperating some egg yolk and basting them on top of the buns before baking so they have a nice brown crust on top, but they tasted good either way!


The turnout! You can really see the doughy crevices in the little balls of delciousness! I actually just used a mix bought from  a Korean super market but I would like to learn how to make them from scratch. They were easy to make dough wise. Just add an egg and a small amount of water or milk. My mom usually adds water. I was thinking of just using water because I don't have milk. I did, however have a carton of plain soymilk and decided to try it out, and it turned out fine!

Here you can really see the mochi-like consistency of the bun. It really is a good snack to munch on or good to put out when you have company over!


Chili Lasagna

A simple meal to combine two delicious foods: lasagna and chili. To the joy of my boyfriend who declares that this claims a spot on one of his favorite dishes cooked by me. :)

This picture shows the amazing cheesy layer on top. It is a combination of Monterey Jack and Cheddar, I believe and some sprinkled Feta cheese as well. Oh and I used slices of Mozarella Cheese for the base of the cheese layer.

This is the inside of the lasagna. You can see the chili layers. I simply replaced the tomato sauce with chili sauce. I put corn and olives in the lasagna as well. It turned out better than I expected and it fed a good amount of boys, so I was more than pleased!

A simple salad that I paired with the lasagna. It is a lettuce and spinach mix with sliced carrots, corn, olives, fresh avocado (recently bought from the local farmer market) and some feta cheese. The salad is adorned with a basic olive oil and balsamic vinegar dressing with some fresh cracked black pepper on top.